Yeah, it’s not quite midnight yet, but to get you up to speed on some of the cosmetic and multimedia upgrades in Halo: Reach early we’ve prepared a quick guide aimed at acclimating you to the brand new player customization system. You’ll find that many of the options outlined below are located in the Armory menu in game, or in your File Share (found both in the game’s main menu and in your Service Record right here on Bungie.net).
For many of you, this primer will cover a lot of self explanatory stuff, especially if you’ve already gained early access. Feel free to close the window and return to your regularly scheduled programming.
Everyone else, let’s dig in.
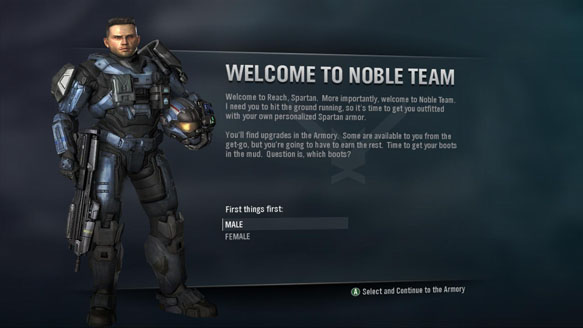
Step One is simple: pick a gender. Don’t sweat it too much, though, if you feel like swapping genders mid campaign, the operation in Halo: Reach isn’t at all painful. You can switch between male and female on the fly. (Regardless of the choice you make, your multiplayer experience will only be aesthetically altered. “Hit boxes,” otherwise known as collision volumes, are unaffected by this selection.)
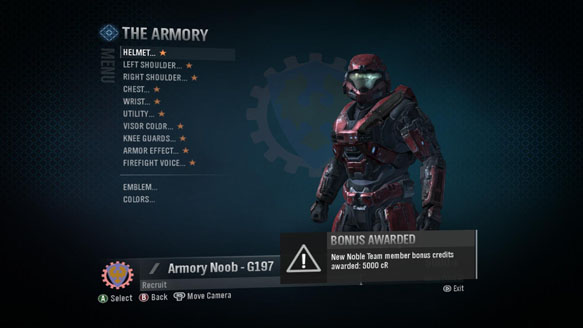
As an enlistment bonus, you’ll automatically be granted five thousand bonus credits. Bam! Time to spend that money, playa!
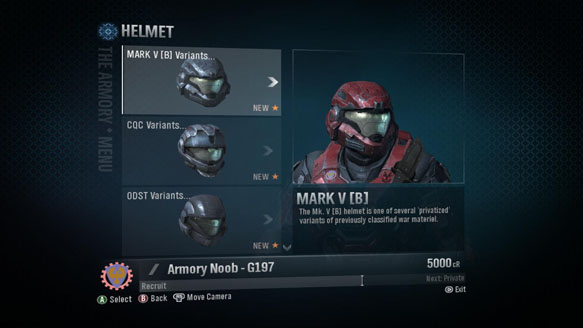
Clicking on any of the main Armory options will take you deeper into that selection’s specific offerings. Items you haven’t looked at are marked with an amber star. Here, we’re looking at some of the helmets you’ll have access to on day one, and right now, we’re rocking default – MARK V [B].
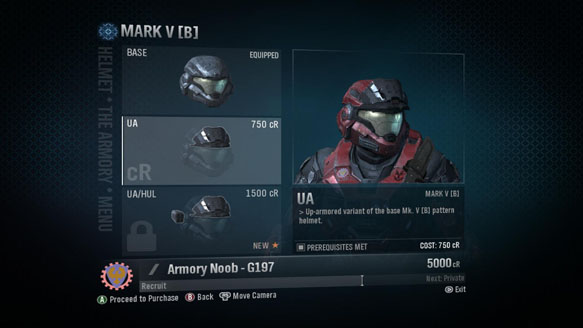
Not for long. At 750 cR (that’s the fictional short form for credits), I can already totally afford the UA upgrade. Again, though it might look like this variant offers additional protection, like all Armory purchases, the effect is only visual. There’s zero impact to gameplay.
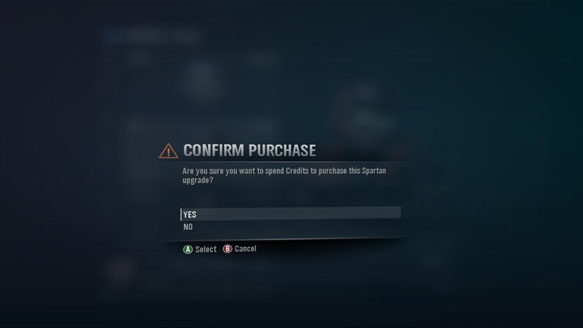
In classic Operating System style, all of my choices are questioned. Am I sure? Yes, I’m sure. Thanks for asking!
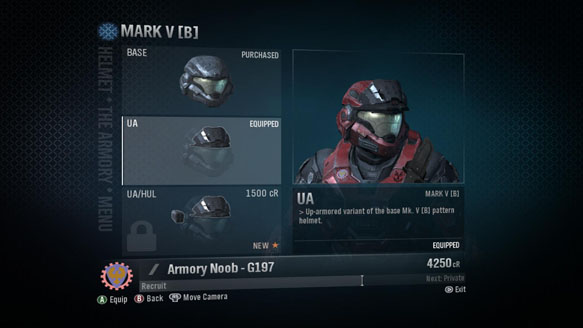
And…voila. My default duds are already looking decidedly upgraded and my noob status has been successfully obfuscated.
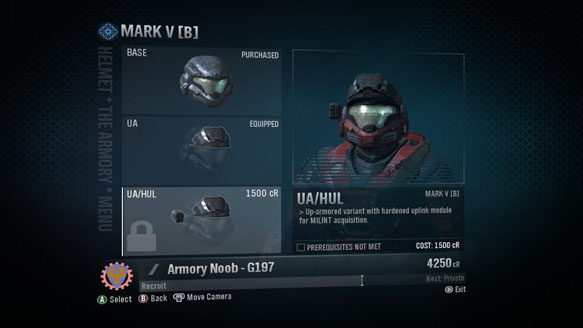
But that third helmet option also looks pretty fly. And what do you know, I’ve got enough cash to make it happen!
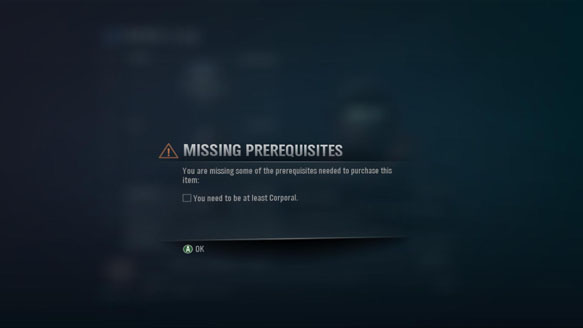
Bummer! Even though plenty of items fit within my budget, many of them also require that I reach a particular grade. Grades are granted for earning credits over time. Experiential progression and all that. You earn credits across all of Reach’s game modes and the more your earn, the higher grade you’ll ultimately obtain. You can see my progress charted at the bottom of most of these screens, Halo 2 style. When you qualify for new gear, you’ll be notified in game and given the option to go straight to the new items in the Armory.
And don’t worry about spending your credits as you earn them, even though your total tally will go down when you pull the trigger on new gear, your accumulative bank, which informs your overall grade, never diminishes (unless you do something naughty).
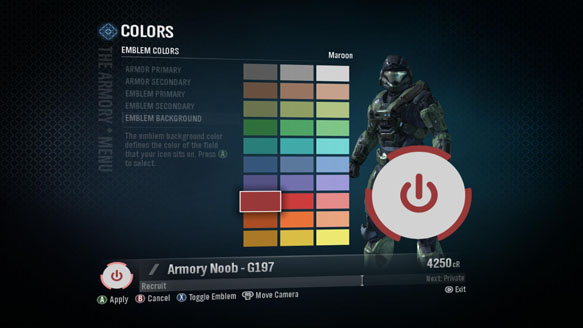
Now that I’ve gotten my armor sorted out, it’s time to setup a paint scheme and get my emblem on. Armor features a primary and secondary option, and emblems feature three fields to aid in your quest for individuality. If you played the Beta, you already know the deal.
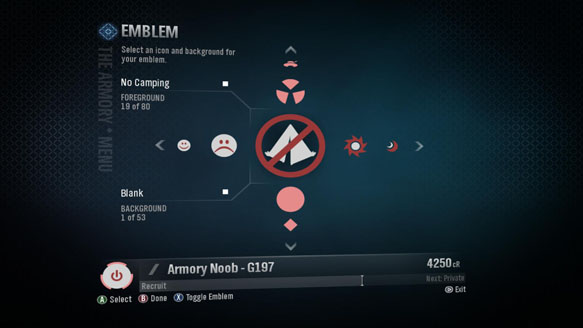
And just like the Beta, there are plenty of emblem options to choose from. Check out the crossbar action! Up and down cycle through the foreground and background. Hit X to toggle secondary visual elements of your emblem.
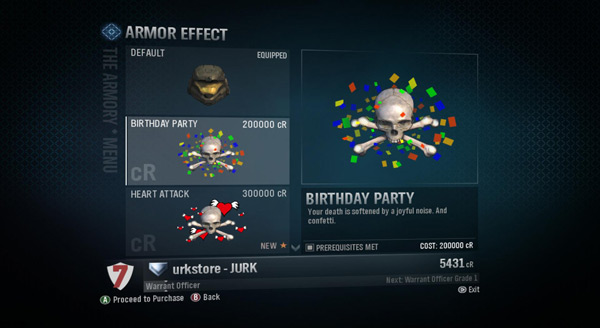
While you’re browsing around the Armory, you’ll likely stumble upon Armor Effects. These are fancy visual elements that appear on your character model in all game modes, save campaign cinematics. None of them effect gameplay, but they are all pretty stinkin’ expensive. Looking good ain’t cheap.
If you picked up the Legendary Edition of the game, this is where you’ll find your flaming helmet option.
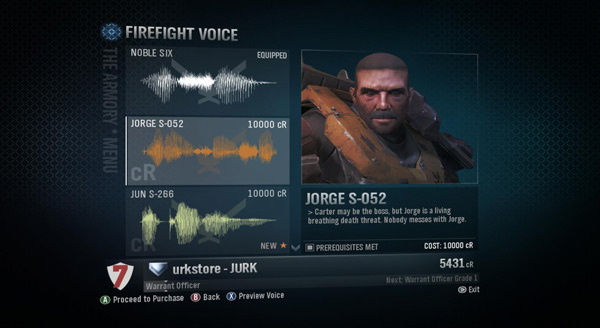
Same thing goes with Firefight Voices. These are intended to spice up the Firefight experience, but again, they won’t affect gameplay. Instead of hearing Noble Six’s combat dialog through your helmet, you’ll be regaled by the character of your choosing, provided you can afford their services. And yes, some of them are pretty pricey (especially the Chief).
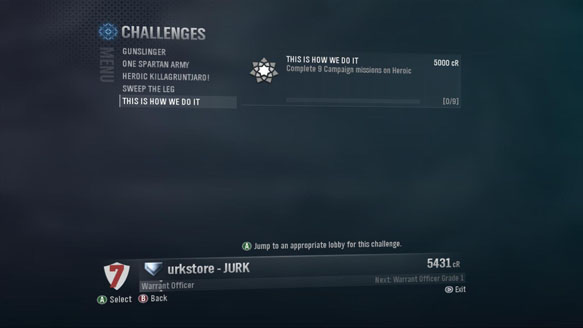
Completing Daily and Weekly Challenges will go a long way to helping you earn big payouts. Each day, you’ll be able to access the available and active Challenges from the main menu in game. Press A when highlighting any Challenge and the game will magically whisk you into the correct lobby. As you progress through each individual challenge, the game will display a measure of your progress in game so you know how close you are to the big payout.
Daily Challenges will also be found on Bungie.net via your Service Record.
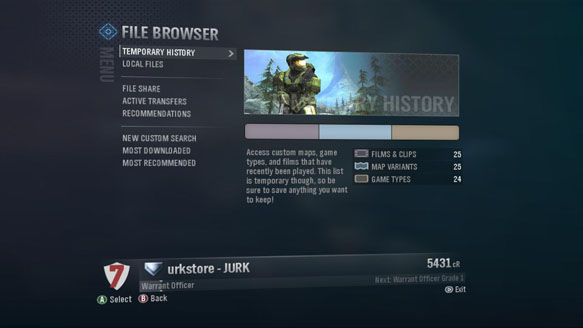
Once you’ve done something awesome in game, or created a kick ass piece of content, you’ll want to locate it in your Temporary History or Local Files so you can upload it to your File Share and gift it to the world. But be careful! Your Temporary History will overwrite quickly as you continue to play and create content. Save your files between and after games! You don’t need to back out of the lobby. Just press Start to access your files while you wait for the next match to begin.
Plenty of players have already uploaded content to Bungie.net. You can check it out right now, but be cautious, many file names, descriptions, and mouse overs contain wicked story spoilers. Only brave these waters if you’ve already finished the campaign.
Bungie.net Halo: Reach File Search
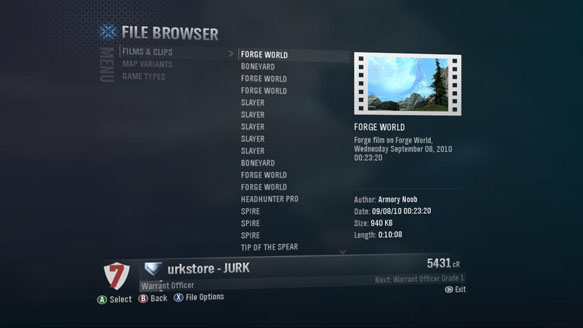
To save a file in game, all you have to do is highlight the item and press X to check out the File Options.
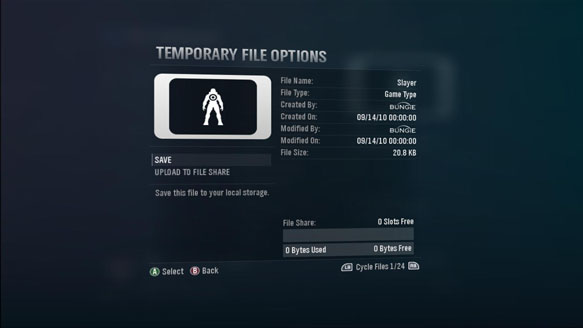
From here, you can Save and Upload the content to your File Share. You can also check out the file details and cycle through all of the files stored in your Temporary History using the left and right bumper.
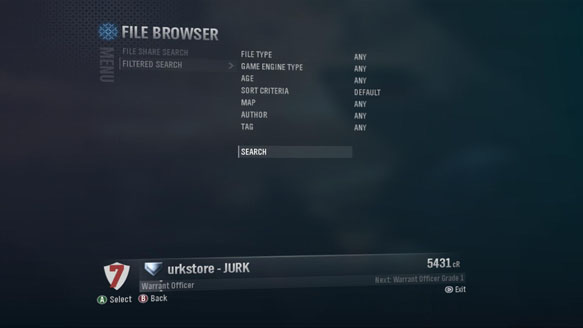
Of course, just like you can on Bungie.net, you can search for other player’s uploaded files without ever leaving the game. Alongside some pre-populated queries we’ll provide you with by default, you can customize your search to locate exactly what you’re looking for.
